Contrast stretching (sometimes called normalization) is a simple image enhancement technique that attempts to improve the contrast in an image by expanding the range of intensity values it contains.
When you first examine your image, what do you see? Here, the image displayed is very dark. Notice the values in histogram are to the very left of centre. To correct this, we'd rather the values be a nice, bell shaped curve centred in the middle. To correct this, we'd like to take what's there (0-90) and stretch it across the 0-255 range.
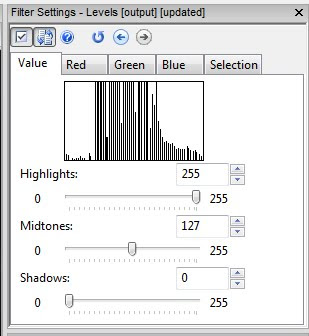
After Contrast Stretching, the values are now spread across the 0-255 range - resulting in a lighter image / video.
Getting there is different in Photoshop vs. AmpedFIVE.
In AmpedFIVE, the process is controlled by the user. The mode, Intensity or Color, is user selectable. The Sensitivity adjustment is like a nudge - how much pixel data to exclude. These two controls taken together allow for more refined control over the process.
In Photoshop, the closest thing to contrast stretching is the Equalize command (Image>Adjustments>Equalize). With Equalize, the darkest value gets mapped to 0 and the lightest value gets mapped to 255. Photoshop then remaps the middle values so that they are evenly redistributed.
Try it in PS. A couple of things will become evident. No SmartObjects. Not editable. Try it in AmpedFIVE. It's editable. And ... because changes aren't written to the pixels until you write the file out, it can be done in a non-destructive way.


No comments:
Post a Comment